Custom Cash Flow Statement
Using the Statement Wizard a custom cash flow statement can be prepared.
The steps to create the custom cash flow statement are:
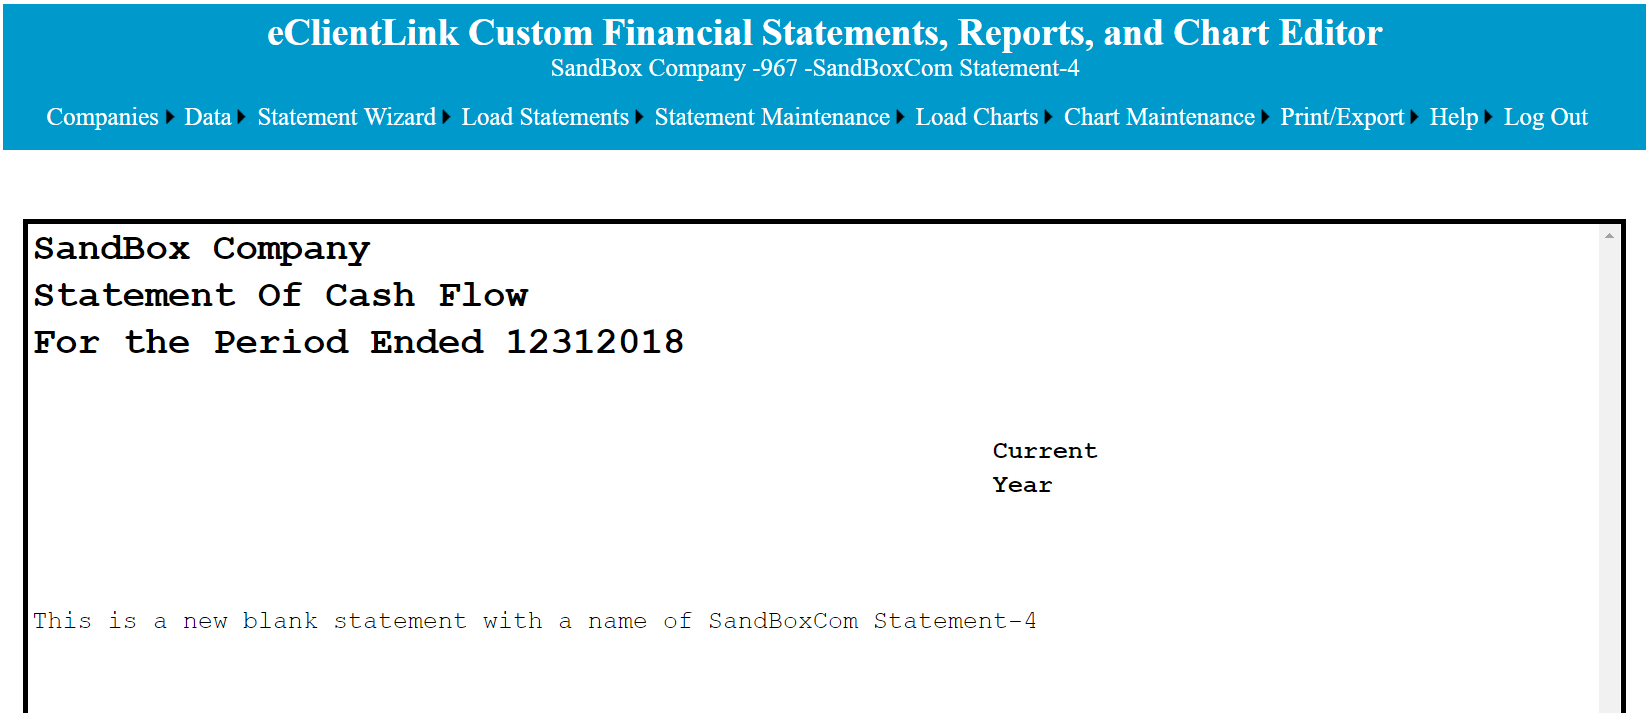
1. Create a blank starter page for the Cash Flow Statement using the Statement Wizard. Click on the 'Custom Balance Sheet' type, and make any other optional selections, like number and type of columns. If no columns are selected the default columns will be used (Current Year Cash FLow). Then click on the 'Create Statement' button at the bottom of the page. The following page will be displayed.
2. Add the statement lines in one of two ways.
A. Statement lines can be typed directly into the editor
B. Using the Statement Wizard, Add Statement Body function.
3. Add the statement lines account assignments. The statements get their numbers from the Trial Balances that have been setup for the company. Which numbers go on what statement line and column is determined by the accounts assignments or mapping. Account assignments can be done in two different ways.
A. Using the Statement Wizard, Account Assignments function. This gives the option of assigning accounts based on a key word search.
The effectiveness of the search is best when the statement lines and the QuickBooks accounts are similar.
B. Using the Statement Assign Accounts Maintenance function. Accounts can be assigned to statement lines based on a point and click interface. The balance sheet accounts of the trial balance will show the net change in each balance sheet account for the period.
4. Add the totals and formula calculations. This can be done in two different ways.
A. Using the Statement Wizard, Totals/Formula function. This allows adding calculations using a point and click interface.
The default statement line formating can also be set using this function.
B. Using the Statement Formula Maintenance function. This allows adding formulas using an Excel like interface. This method gives the user a more granular approach.
5. Add formating information to each statement line. If the formating is not done in step 4-A above, it can be done using the Statement Formating Maintenance function.
The statement can then be used as is, or modified for the users preferences. Modifications can be done between any of the initial setup steps above.
The options to modify the statement are:
1. Modifying the statement columns can be done useing the 'Statement Column Maintenance' function. The following modification can be made.
A. Add additional columns. During this process, the account assignment for the new columns can be copied from an existing column.
B. Delete existing columns.
C. Change the width of any or all columns.
D. Change the offset in inches that the column will be from the left margin.
D. Changing the default Trial Balance that the column is using to get the data from QuickBooks.
E. A column can be hidden.
2. Modifying statement lines can be done in three different ways.
A. Changes to the statement lines can be typed directly into the editor.
B. Lines can also be added or deleted using the insert and delete functions of the Statement Maintenance functions.
C. Using the Statement Wizard, Add Statement Body function. Using this function will replace all the statement lines with the new selections.
3. Modifying the statement line account assignments. The statements get their numbers from the Trial Balances that have been setup for the company. Which numbers go on what statement line and column is determined by the accounts assignments or mapping. Account assignments can be done in two different ways.
A. Using the Statement Wizard, Account Assignments function. This gives the option of assigning accounts based on a key word search.
The effectiveness of the search is best when the statement lines and the QuickBooks accounts are similar.
B. Using the Statement Assign Accounts Maintenance function. Accounts can be unassigned and assigned to statement lines based on a point and click interface.
4. Modifying the totals and formula calculations can be done in two different ways.
A. Using the Statement Wizard, Totals/Formula function. This allows adding or changing calculations using a point and click interface.
The default statement lines can also be set using this function.
B. Using the Statement Formula Maintenance function. This allows adding or changing formulas using an Excel like interface. This method gives the user a more granular approach.
5. Modifying Statement line formats can be done by using the Statement Maintenance Line Format function. This allows setting the line formats using a point and click interface.
6. If after the original setup, additional QuickBooks accounts are added or become active, the Statement Wizard Add New Account function is the easiest way to add a new account to a statement.