Demonstration Statement
The best way to learn the statement setup process is to create a Demonstration Statement using your QuickBooks Data. The easiest way to create a Demo Statement is using the Statement Wizard. The 'Create New Statement' can be selected from the 'Statement Wizard' drop down menu. A company must be loaded before a Statement can be created. See 'Companies' help
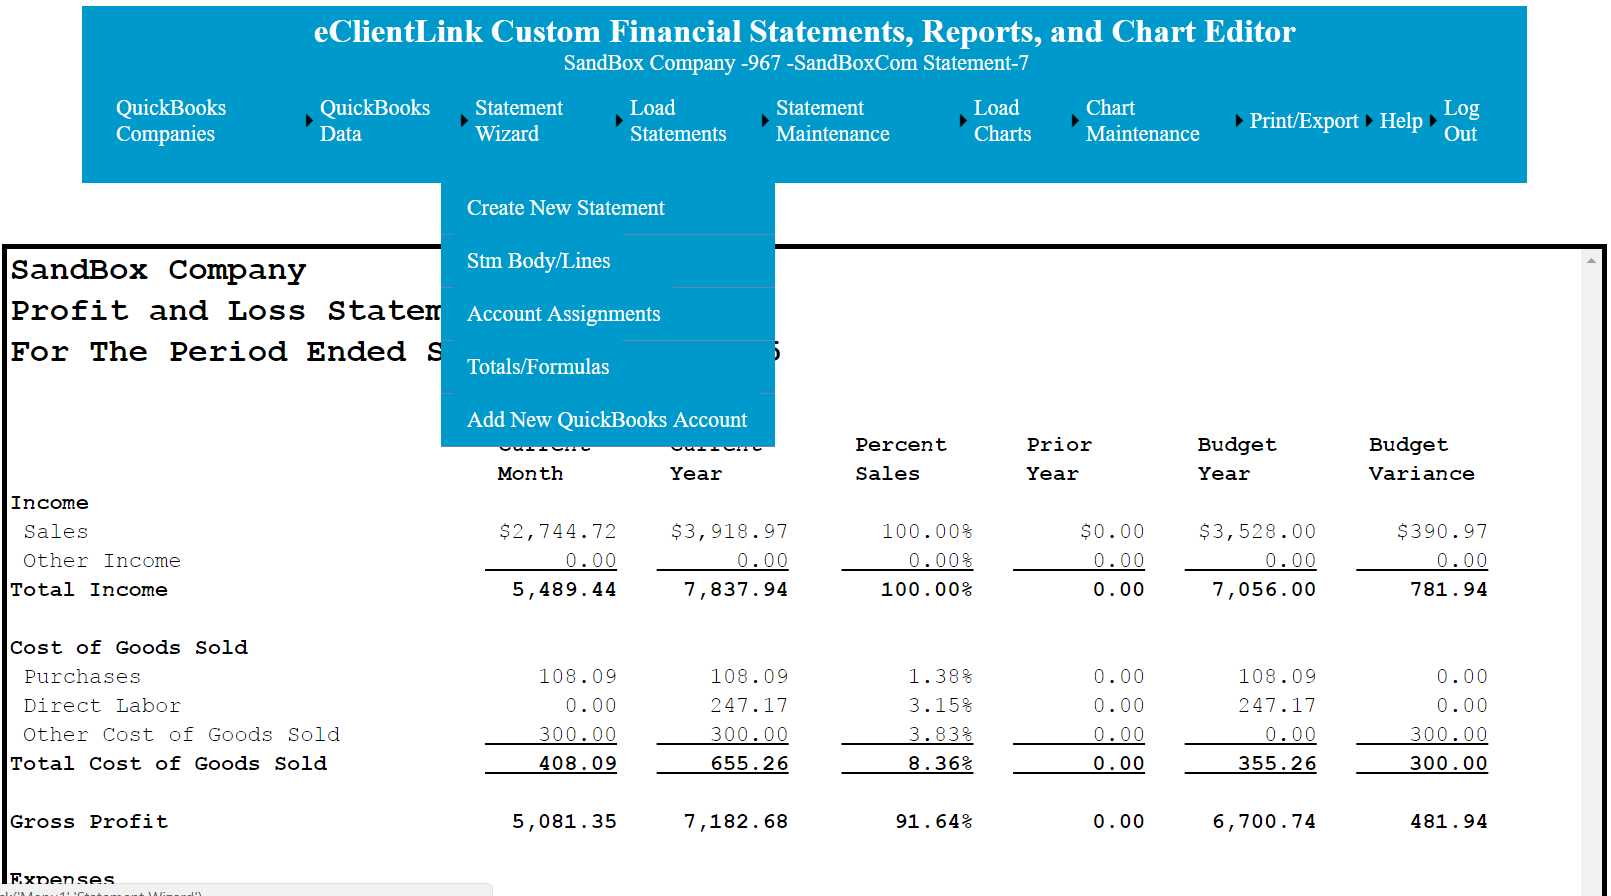
After starting the Wizard, create a complete demo statement, using the default settings, by clicking on the 'Create Statement' button. See Statement Wizard for more information on setting up your Demo Statement.
Explore the following topics to understand how the setup was done and to understand changes that can be made to further customize your statements.
1. Trial Balances: The Trial Balances are created from the information in your QuickBooks accounting program. A Trial Balance is a listing of all of your QuickBooks accounts with the balances as of a given period in time. The numbers in your custom statements are then retrieved from the trial balances. These trial balances will be automatically added based on the column selection or the default settings in the Statement Wizard. Additional trial balance can be added, deleted, or their properties changed (EOP date update, Class filters, Etc...). See 'Trial Balance Data' for additional information.
2. Statement Columns: The statement column that will appear in your statement will be automatically added based on the column selection or the default setting in the Statement Wizard. Columns can be added, deleted, or their properties changed (Location on page, width, default trial balance, Etc......). See 'Statement Column Maintenance' for additional information.
3. Statement description lines: The statement description will be automatically added to your Demo statement based on the account name in your QuickBooks chart of accounts.The statement description lines can be changed by typing directly into the Editor. Lines can by deleted or added from the 'Statement Maintenance' drop down menu. Other various option, including importing them from an Excel file can be found using the 'Statement Wizard Body Lines' menu item .
4. Assigning QuickBooks accounts to statement lines: In order for the numbers from your QuickBooks program to display in the Statements, the statement lines must be mapped to the QuickBooks accounts. When the Demo statement is run from the Statement Wizard this is done automatically. The account assignments can be changed, added, and deleted using the account assignment page. See 'Assign Accounts' for more information.
5. Totals and calculations. The statement total and calculations will be added automatically for your Demo statement based on your QuickBooks chart of accounts. The statement totals and calculations can be changed, added, and deleted using the 'Statement Wizard Totals/Formula' menu selection. If additional calculation are needed, they can be added, deleted or changed using the Formulas page. See 'Formulas' for additional information.
6. Line Formating: Each line can be formated for various options (Bold, Header Bold, Underline, Double Underline, Etc....). This formating is done automatically when you run the Demo statement setup. The formating can also be done automatically when using the 'Statement Wizard Totals/Formula' (4. Above) , or changes can be made using the 'Line Formats' page. See 'Line Formats' for additional information.